How to Connect a Hybrid Inverter to the Grid: A Step-by-Step Guide
Hybrid inverters are becoming increasingly popular for residential and commercial solar energy systems due to their ability to manage power from solar panels, batteries, and the grid. One of the most critical aspects of installing a hybrid inverter is understanding how to connect it to the grid safely and efficiently. This guide will walk you through the process, highlighting key considerations and best practices.
What Is a Hybrid Inverters?
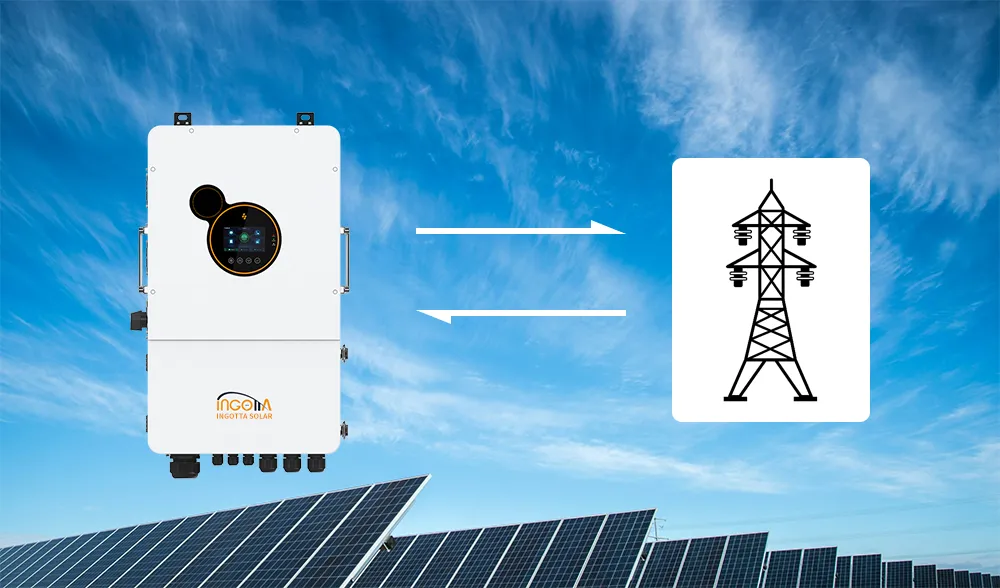
A hybrid inverter is a versatile device that combines the functions of a solar inverter and a battery inverter. It allows you to use solar energy, store excess power in batteries, and draw electricity from the grid when needed. Connecting a hybrid inverter to the grid enables features like net metering, backup power during outages, and optimized energy consumption.
Pre-Installation Considerations
Before connecting your inverter to the grid, there are several important factors to consider:
- Local Regulations and Permits: Grid connection must comply with local utility rules and electrical codes. Obtain necessary permits and ensure your system meets safety standards.
- Inverter Compatibility: Verify that your inverter is designed for grid-tie operation and is compatible with your region’s grid specifications (e.g., voltage, frequency).
- Professional Assistance: Due to the complexity and risks involved, it’s highly recommended to hire a certified electrician or solar installer for the connection process.
Step-by-Step Guide to Connecting a Hybrid Inverter to the Grid
Step 1: Install the Hybrid Inverter
Mount the inverter in a well-ventilated, dry location close to your main electrical panel and batteries (if applicable). Ensure all DC connections from solar panels and batteries are securely made according to the manufacturer’s instructions.
Step 2: Connect to the Grid via the Main Panel
The hybrid inverter must be connected to your home’s main electrical panel. This typically involves:
- Installing a dedicated circuit breaker for the inverter in the main panel.
- Running appropriate gauge wiring from the inverter’s AC output terminals to the new breaker.
- Ensuring proper grounding for safety.
Step 3: Configure Grid Settings
Once physically connected, configure the inverter’s settings for grid interaction. This may include:
- Setting grid voltage and frequency parameters.
- Enabling net metering if supported by your utility.
- Configuring backup power modes for outages.
Step 4: Inspection and Approval
After installation, your system must be inspected by a certified professional or utility representative to ensure it meets all safety and regulatory standards. Only after approval can the system be activated.
Step 5: Activation and Monitoring
Once approved, switch on the inverter and monitor its performance. Most hybrid inverters come with monitoring software that allows you to track energy production, consumption, and battery status.
Safety Tips and Best Practices
- Always turn off the main power supply before working on electrical connections.
- Use personal protective equipment (PPE) such as gloves and safety glasses.
- Regularly inspect connections for signs of wear or damage.
- Keep the inverter and surrounding area free of debris and moisture.
Conclusion
Connecting a inverter to the grid is a multi-step process that requires careful planning, adherence to local regulations, and professional expertise. By following this guide, you can ensure a safe and efficient grid connection that maximizes the benefits of your solar energy system. Whether for reducing electricity bills or achieving energy independence, a properly installed hybrid inverter is a valuable asset for any renewable energy setup.
Table of Contents